3D Measurement & Optical Scanning – Defne Engineering Approach
Precision and Detail: The Critical Value of 3D Measurement
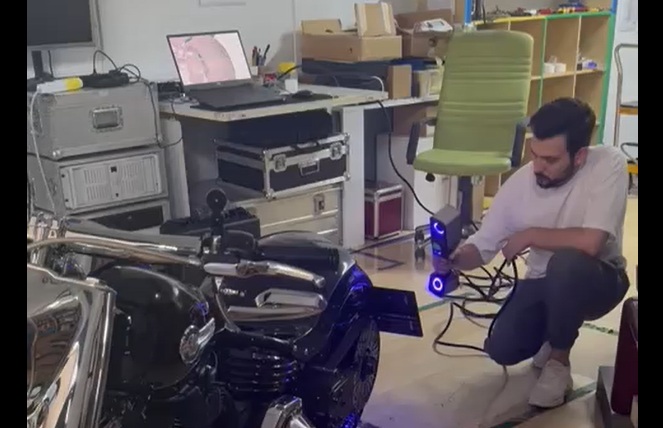
In modern industrial design and manufacturing processes, 3D measurement (3D scanning) plays a critical role. The purpose of measurement goes far beyond determining the dimensions of a part; it captures surface details and geometric characteristics with high precision. This becomes especially important for large components or parts with complex geometries, where traditional measurement methods often fail to reliably capture all features and tolerances.
Accuracy and detail are the most essential criteria in 3D measurement. The ability to reach every point of a part—capturing recesses, curvature, and surface transitions precisely—directly affects production quality and overall project success.
Defne Engineering’s Specialized Approach
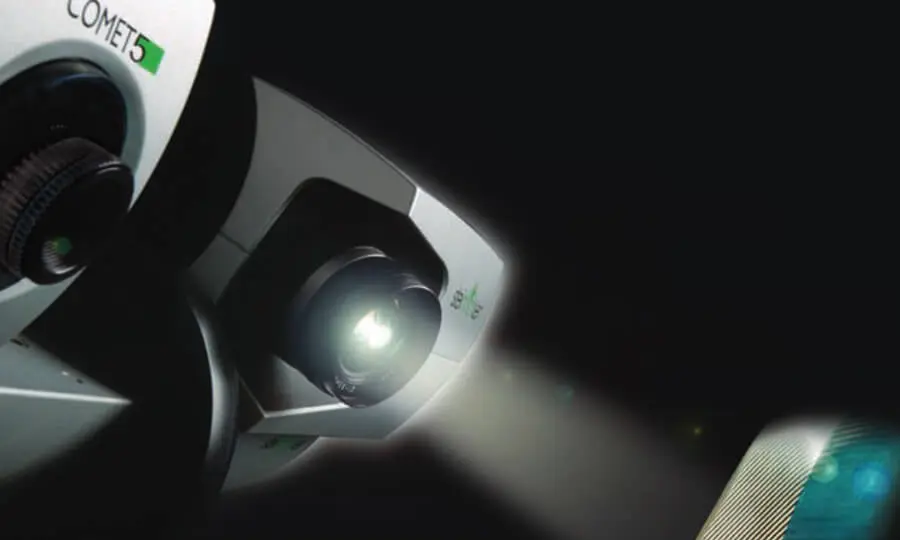
To overcome these challenges, Defne Engineering utilizes photogrammetry systems, optical scanners, and laser-scanning equipment. Additionally, our in-house developed methods and scripts ensure a consistent standard of precision and detail for every project.
Our 3D measurement processes are not limited to collecting data; they are designed to deliver accurate and reliable results by considering the project’s objective, working environment, and the product or system’s characteristics. Each project is assessed individually, and the resulting data can be used directly in quality control, reverse engineering, benchmarking, or production preparation.

Project-Based Measurement: Purpose-Driven Solutions
At Defne Engineering, 3D scanning is never treated as a simple measurement task. Instead, we apply strategic methodologies to ensure accurate, meaningful, and error-free results aligned with the project’s purpose. The measurement process is planned by evaluating operating conditions, material properties, and project expectations.
This approach enables:
- Detailed measurement of large or complex parts
- Direct use of scan data in quality control, reverse engineering, or production workflows
- Minimization of re-scanning or data-loss risks
- Tailored, purpose-specific, and reliable measurement outcomes for every project
Application Areas & Industrial Use
Defne Engineering’s 3D measurement services are used across a wide range of industries:
- Medical and precision devices: Biocompatible components, complex geometries
- Automotive and defense industries: Detailed inspection of molds, prototypes, and production parts
- Consumer electronics and white goods: Measurement and quality validation of compact designs
- Industrial machinery and energy systems: Control and verification of large-scale, complex components
Each sector’s unique requirements are considered, and the measurement workflow is tailored accordingly to deliver accurate, project-focused data.
Quality Control & Production Readiness
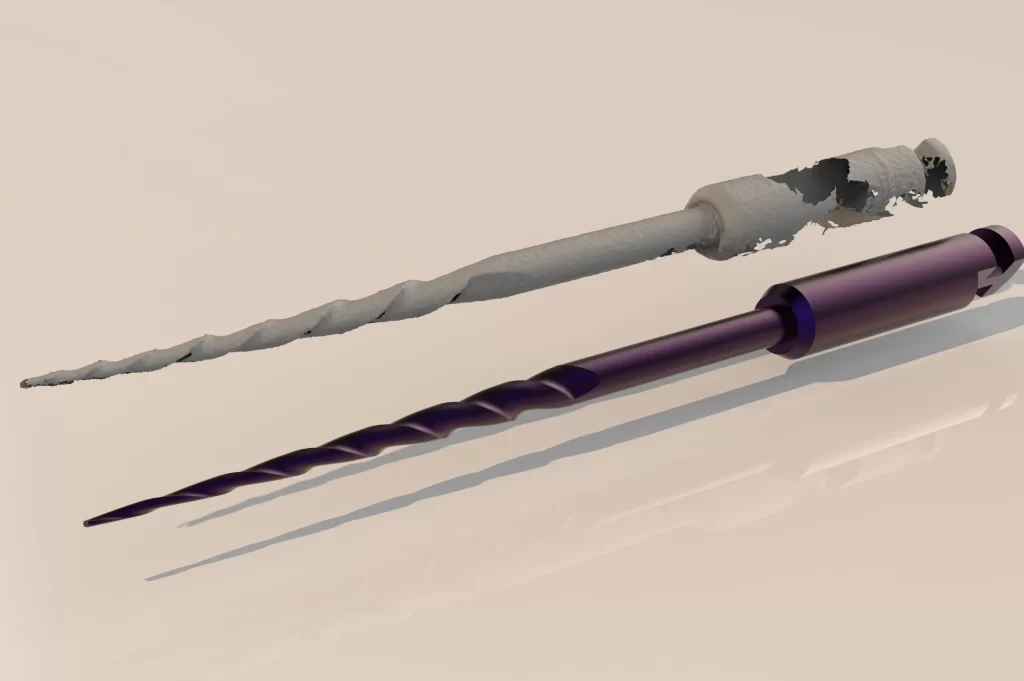
High-precision 3D scanning enables direct comparison between a physical part and its original CAD model. Surface deviations, deformations, and out-of-tolerance conditions can be identified rapidly—an analysis that would be impractical using conventional methods, especially for large or complex parts.
The captured point-cloud data can be directly converted into CAD models during reverse-engineering workflows. This provides critical information for reproducing older parts, revising prototypes, or carrying out engineering updates.
Conclusion: Beyond Measurement — Confidence, Quality & Production Assurance
Defne Engineering’s 3D measurement and optical scanning infrastructure delivers precision, detail, and project-specific accuracy. Our process goes far beyond data acquisition; each project is carefully planned according to its purpose, operating conditions, and product characteristics. As a result, maximum efficiency, reliability, and production assurance are achieved across design, manufacturing, and quality-control phases.
Defne Engineering provides high accuracy 3D scanning services for Geometrical Inspection, Quality Control, Benchmarking, Digitization, Reverse Engineering, Product Development and more.
Defne Engineering carries out reverse engineering studies of the fine details of small parts and all of the large parts and details with the optical and laser 3d scanning method, thanks to its optical scanning – 3D measurement systems, different fields of view with different resolution of cameras. 3D measurement and optical scanning of parts from 0,2 mm to 20 m can be made regardless of material type.
Our 3D Digitization Service

- The manufacturer has not produced a part for a long time and wants to produce it again,
- The original design has insufficient documentation,
- The original manufacturer of a product no longer exists, but customers need this product,
- The original documentation of the product is lost or does not exist at all,
- Some bad features of the product need to be redesigned,
- Measuring the good features of the product based on long-term use of the product,
- Analyzing the good and bad features of the competitor product,
- Discovering new ways that will lead to results in improving the performance and features of the product,
- Obtaining competitive benchmarking methods to understand competing products and develop better products,
- The original CAD model is not sufficient for changes or current production methods,
- The original manufacturer demands excessive fees to supply parts,
- Updating outdated parts or old manufacturing processes with current, cheaper technologies
retroactive engineering provides solutions to such requests and problems.
Digitization systems are used as a technological convenience in solving these processes. The part is digitized through these systems and can be made ready for creating a CAD model.
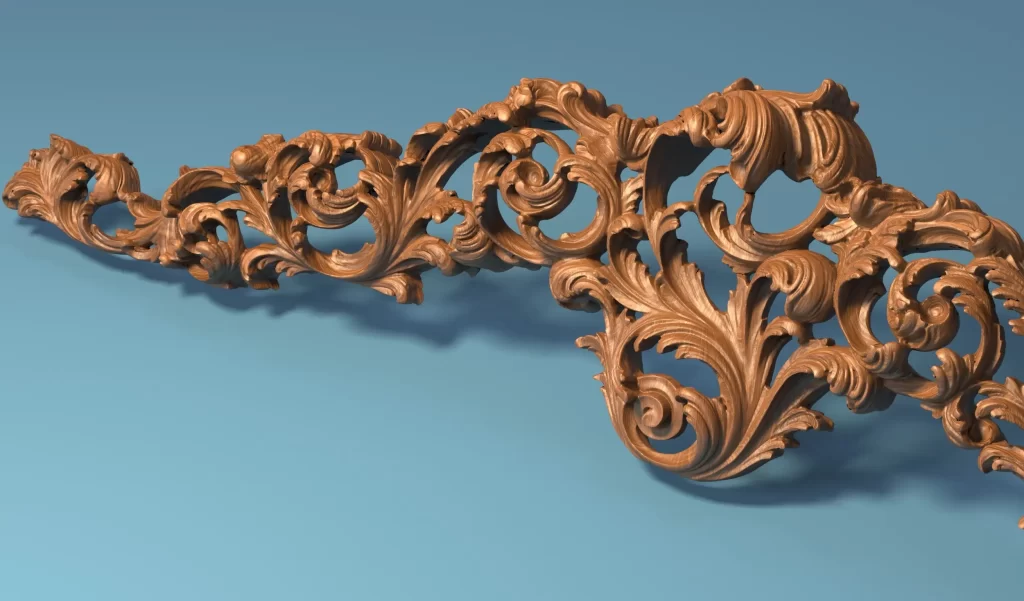
When performing 3D measurement – optical scanning, measurements can be made without the need for any marking on the parts. In these measurements, which are made without using paper or marking in optical scanning, high quality results can be obtained in cases where there is no data loss and the data of the regions under the marks called index marks are important. For example, the markings used to measure a tile pattern using the optical scanning method will cause the pattern to be distorted in those areas.
Defne Mühendislik is able to complete such projects with high quality and precision by combining both its experience and the cutting-edge features of the systems it uses. A similar study was carried out with the 3D optical scanning method in fingerprint measurement. In studies carried out with this precision, the point cloud obtained as a result of optical scanning can be used directly in production without the need for any additional processing.


