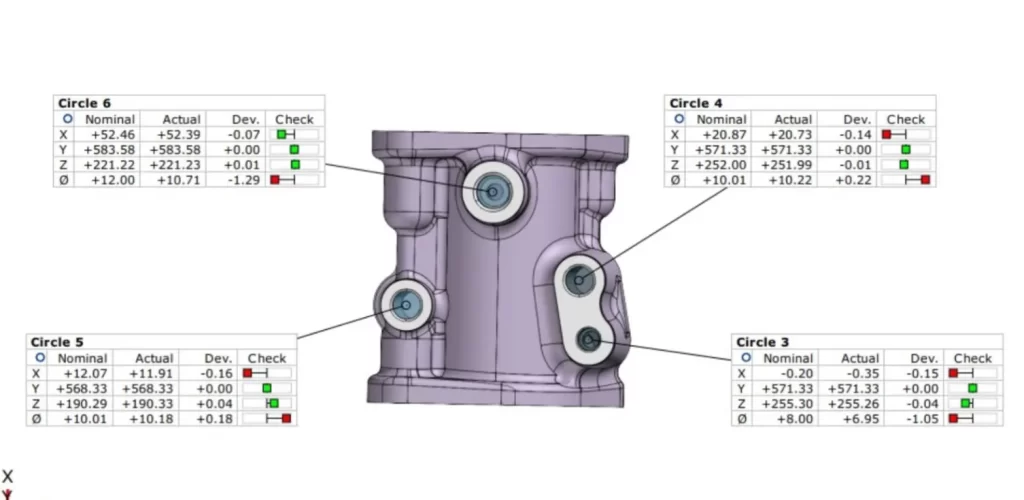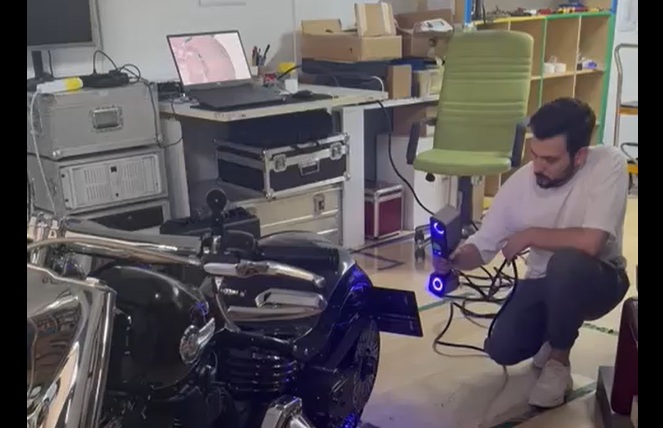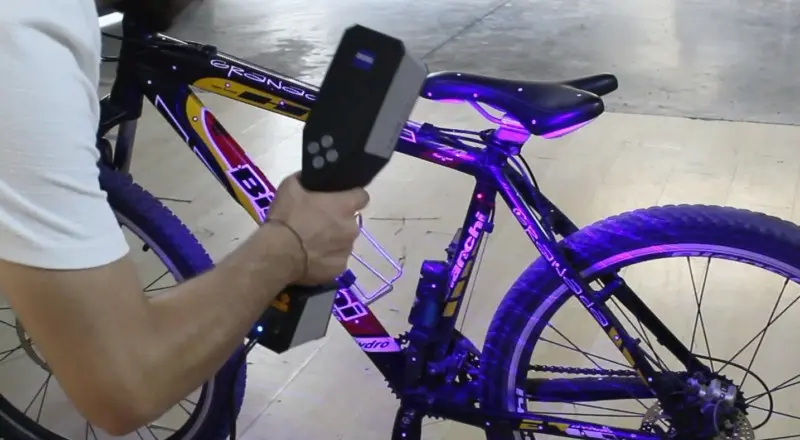
Quality control service (Quality Control 3d) is provided by comparing the 3D measurement result or point cloud or STL data taken from any measuring device with the CAD model and reporting the differences. It is especially used in dimensional quality control of free-form parts and in reporting using CAD modeling as a reference. The sensitivity and time loss experienced in measuring shaped surfaces in CMM systems is overcome very quickly and precisely with optical scanning.

Quality Control Service
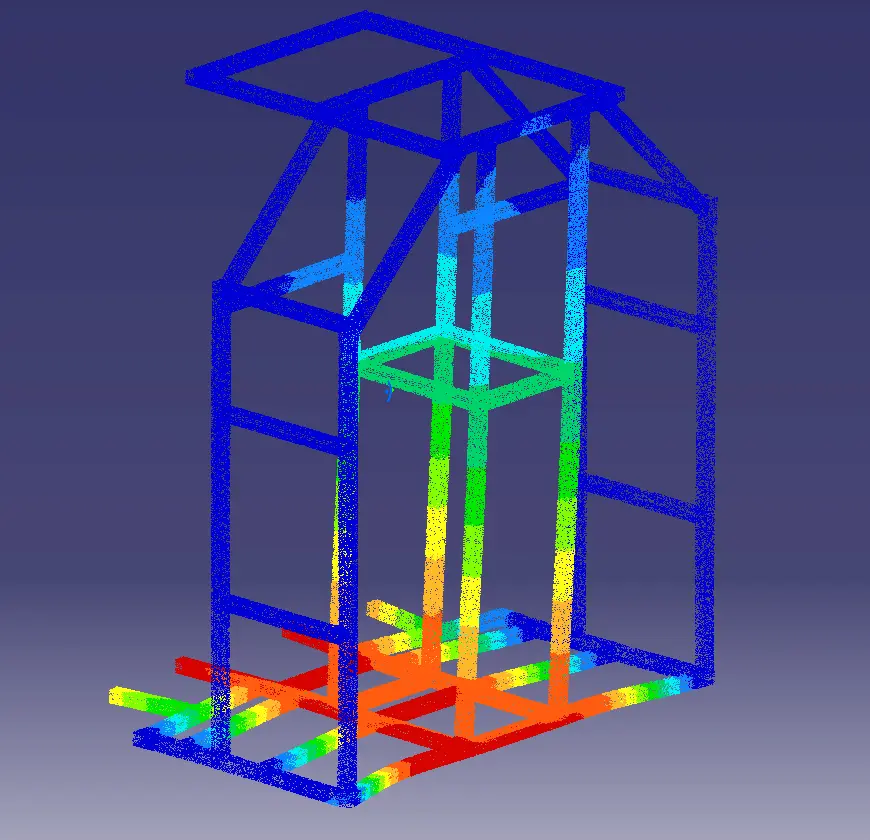
Different methods can be used to move the CAD model and measurement data to the same reference. The first of the most used methods is “reference overlapping”. In this method, two data are superimposed with the help of reference planes, vectors and points in the CAD data of the product, apparatus or mold and the measured point cloud. Another method is optimal registration. With the placement called “Best Fit”, the point cloud is automatically overlapped in the most suitable geometric way to the CAD data coordinates. The final report is delivered to customers in the form of graphic images and tables.
Fixture Control and Assembly Control
The 3D scanning method is the most suitable method, especially for complex geometries such as fixtures, to be measured in 3D and checked with design data. With this method, assembly quality control checks of assembled products can also be carried out.


